 Call Or Text Us: (908) 437-8856
  Contact Us
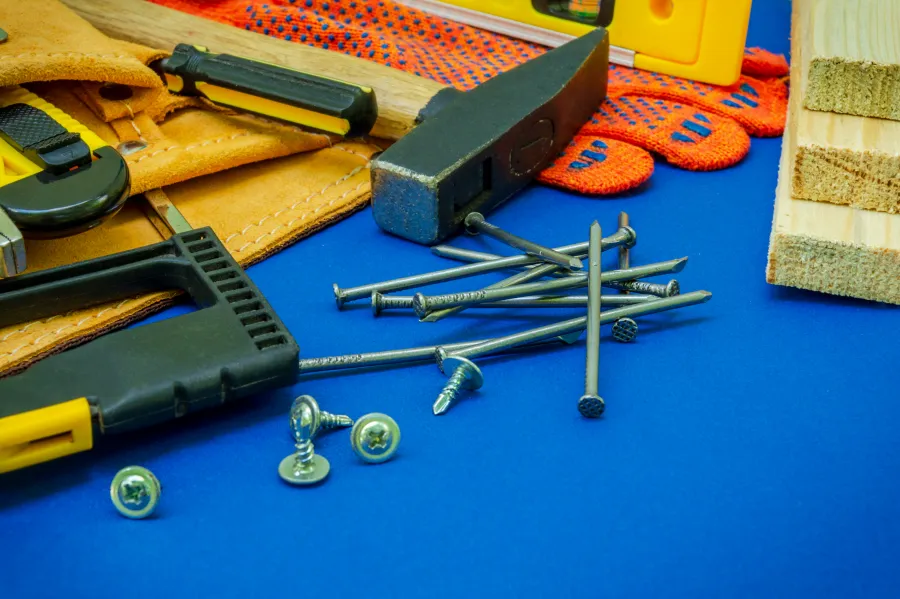
DIY Drywall Repair: Your Step-by-Step Guide to Perfect Walls
Understanding Wall Damage and When to Repair
Wall damage happens in every home. Whether you are dealing with nail holes from hanging pictures, dents from furniture, or cracks from settling foundations, knowing how to repair drywall yourself can save you time and money. In Annandale, where homes experience seasonal temperature shifts that can cause minor settling and expansion, homeowners frequently search for reliable methods to patch small holes, fix wall cracks, and restore smooth surfaces.
Drywall repair does not require professional skills for most minor damage. With the right materials, proper techniques, and patience during the finishing stages, you can achieve results that blend seamlessly with your existing walls. This guide walks you through every step, from assessing the damage to applying the final coat of paint.
Before starting any repair project, evaluate the extent of the damage. Small holes under half an inch typically need only spackle or joint compound. Medium holes between half an inch and six inches require patching with mesh tape or a repair patch. Larger holes over six inches need backing support and may benefit from cutting the damaged area into a clean square for easier patching. Understanding the scope of your repair determines which materials you need and how much time to allocate for the project.
Gathering Your Repair Supplies
Having the correct tools and materials makes the difference between a frustrating experience and a successful repair. For basic repairs, you need joint compound (also called mud), putty knives in multiple sizes, a utility knife, sandpaper or sanding sponges in fine and medium grits, and primer matched to your wall paint. For larger repairs, add mesh tape or self-adhesive repair patches, a drywall saw, and backing boards or clips.
Joint compound comes in setting-type and drying-type formulas. Setting-type compound hardens through a chemical reaction within a specific timeframe, typically between 20 and 90 minutes depending on the product. This type resists shrinking and works well for deep fills. Drying-type compound hardens as moisture evaporates and remains the better choice for beginners because it provides more working time and sands more easily.
Putty knives should include at least three sizes: a two-inch knife for small holes and detail work, a four to six-inch knife for medium patches, and an eight to twelve-inch knife for final coats and feathering edges. Wider knives create smoother finishes because they bridge across the repair and blend into the surrounding surface. Keep your knives clean during work by wiping them frequently; dried compound on your tools transfers bumps and ridges onto your wall.
For homes in areas like Annandale where humidity fluctuates with the seasons, allow extra drying time during humid summer months. Moisture in the air slows the drying process, and applying subsequent coats before the previous layer fully dries leads to cracking and poor adhesion.
Executing the Repair from Start to Finish
Begin by preparing the damaged area. Remove loose paper, debris, or crumbling gypsum from around the hole or crack. Use your utility knife to cut away any ragged edges, creating clean boundaries that accept compound smoothly. For holes smaller than half an inch, simply wipe away dust and apply spackle directly with a small putty knife, pressing firmly to fill the void completely. Scrape the knife flat across the surface to remove excess material, leaving the repair slightly recessed or flush with the wall.
For holes between half an inch and six inches, apply self-adhesive mesh tape or a repair patch over the opening. These products provide support for the compound and prevent sagging. Spread a thin layer of joint compound over the patch using a four to six-inch knife, extending several inches beyond the edges of the patch. Press firmly to work the compound through the mesh and create a solid bond. The first coat should cover the patch completely but does not need to be perfectly smooth.
Allow the first coat to dry completely, which typically takes four to twenty-four hours depending on thickness, humidity, and compound type. Check by touching the center of the repair; the surface should feel cool and dry. Once dry, apply a second coat using a wider knife, feathering the edges outward to blend with the surrounding wall. Feathering means applying lighter pressure as you move away from the center, creating a gradual transition rather than a visible ridge.
After the second coat dries, sand the area lightly using fine-grit sandpaper or a sanding sponge. Sand in circular motions, focusing on high spots and edges. Avoid sanding the surrounding wall texture, which can create an obvious patch area. Wipe away dust with a slightly damp cloth and inspect the repair under angled lighting to reveal imperfections. Apply a third thin coat if needed, feathering well beyond previous layers.
For larger holes requiring backing support, cut the damaged area into a neat square or rectangle using a drywall saw. Cut a backing board slightly larger than the opening from scrap wood or a paint stick. Insert the backing through the hole, holding it flat against the back of the wall while driving screws through the existing drywall into the backing on both sides of the opening. Cut a drywall patch to fit the opening snugly and screw it to the backing board. Apply mesh tape over the seams, then proceed with joint compound in multiple thin coats as described above.
Cracks require different treatment. Use a utility knife to widen the crack slightly into a V-shape, which gives the compound something to grip. Fill the crack with compound, pressing it deeply into the groove. Apply mesh tape over the crack if it exceeds a quarter-inch in width or if the crack has a history of recurring. Sand smooth once dry, and watch for reappearance over several weeks. Recurring cracks may indicate structural movement and could require professional assessment.
Achieving Invisible Repairs Through Proper Finishing
The final appearance of your repair depends heavily on proper priming and painting. Joint compound is porous and absorbs paint differently than the surrounding sealed drywall. Without primer, the repaired area will show through paint as a dull spot, sometimes called flashing. Apply primer specifically formulated for drywall to the repaired area, extending slightly beyond the compound to ensure even coverage.
After the primer dries, apply your topcoat paint. Use the same paint that currently covers your walls if possible, as even slight variations in sheen or color become obvious under certain lighting. If you do not have leftover paint, bring a small chip of your wall color to a paint store for matching. When applying paint, feather the edges by blending wet paint into the surrounding area rather than creating a hard line.
For textured walls, you need to replicate the existing texture before painting. Spray texture products work well for orange peel and knockdown finishes. Practice on cardboard first to match the pattern and density. Apply texture to the repaired area, allow it to dry partially, then knock down high points with a trowel if needed to match your wall. Stomp brushes and sponges can recreate other common textures. Matching texture often presents more challenge than the structural repair itself, so take time to experiment.
In older homes common throughout Annandale, walls may have accumulated multiple paint layers or unique hand-applied textures. These situations sometimes benefit from blending a larger area rather than trying to match an exact spot. Consider repainting an entire wall section from corner to corner, which eliminates visible boundaries and ensures consistent appearance.
When to Handle Repairs Yourself and When to Call Professionals
Even with careful technique, beginners make predictable mistakes. Applying compound too thickly ranks among the most common errors. Thick applications take longer to dry, shrink more dramatically, and crack frequently. Always apply multiple thin coats rather than one thick layer. Another frequent mistake involves insufficient feathering, which leaves visible ridges around the repair. Extend each coat progressively wider than the previous layer, and use larger knives for final coats to create smooth transitions.
Sanding too aggressively damages surrounding areas and creates depressions. Sand just enough to smooth high spots, and check your progress frequently. Over-sanding also creates fine dust that spreads throughout your home, so work in a well-ventilated area and consider using a sanding sponge, which generates less airborne dust than sandpaper.
Skipping primer causes most post-repair disappointment. No matter how perfectly you apply compound and sand the surface, unprimed repairs show through paint. Always prime before applying finish coats. Similarly, attempting to match texture without practice leads to obvious patches. If your first attempt at texture matching fails, sand it off and try again, or consider having that specific step handled by someone experienced.
Some situations exceed the scope of DIY repair. Water damage requires addressing the moisture source before repairing surfaces, and affected drywall may need complete replacement rather than patching. Large damaged areas exceeding two feet in any dimension often prove more efficient to replace than repair. Structural cracks that widen over time or run diagonally across walls may indicate foundation issues requiring professional evaluation before cosmetic repairs.
For extensive repairs, complex texture matching, or when you simply prefer guaranteed results, working with experienced professionals makes sense. Handyman on Call, LLC provides skilled repair services throughout Annandale and surrounding areas. With expertise in both structural repairs and finish work, professional services ensure proper techniques, efficient completion, and results that truly disappear into your walls. Whether you need a single difficult repair or complete room restoration, professional help eliminates trial and error while delivering lasting quality.
Understanding when a project matches your skill level and when to seek assistance prevents frustration and saves money in the long run. Minor nail holes and small dents make excellent practice for building skills. Medium-sized damage offers manageable challenges for patient DIY enthusiasts. Extensive damage, recurring problems, or repairs in prominent locations often justify professional service for the time savings and guaranteed results. For questions about specific repairs or to schedule an assessment, contact our team for guidance tailored to your situation.